
Last updated November 18, 2026
 Sliding glass doors
 Single hung
 Double hung
 Horizontal roller
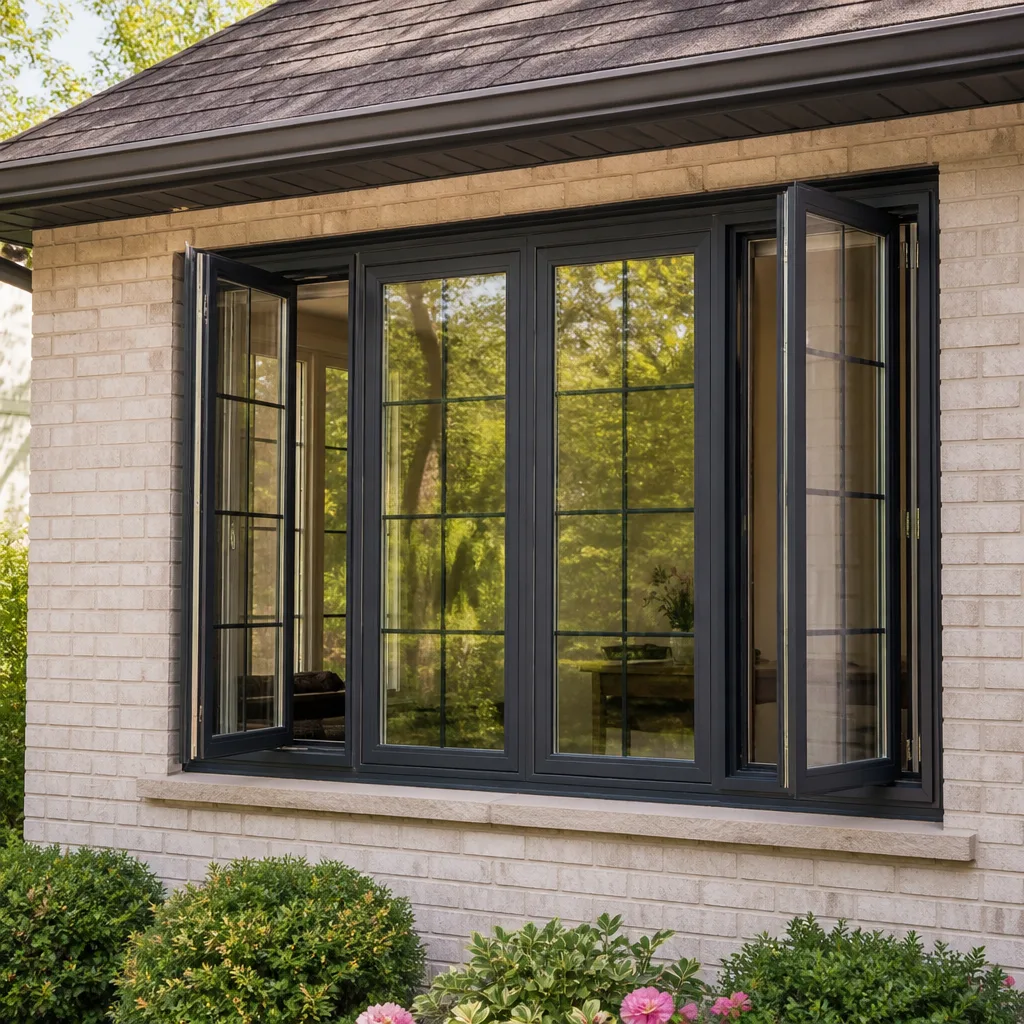 Casement
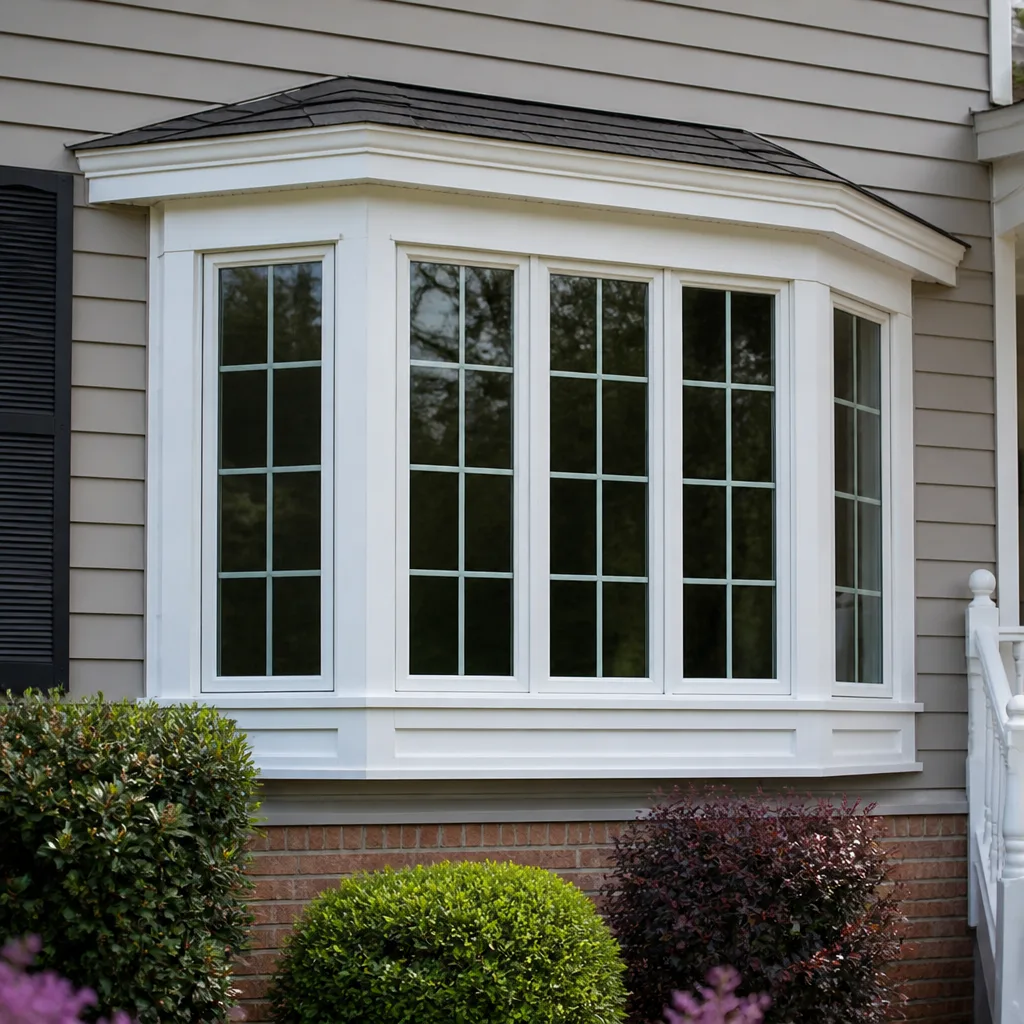 Bay & bow
 Entry doors
 Impact garage doors
 PGT
 CGI
Free in-home measure and quote - PGT, CGI and CWS impact lines compared on your actual openings, style by style
Get your free estimateWindows & Doors Warning Signs: A North Las Vegas Homeowner’s Reference Guide
Most window and door guides tell you to look for fogged glass and drafts you can feel with the back of your hand. Those are end-stage symptoms. By the time a North Las Vegas homeowner notices them, the useful diagnostic window has closed and full replacement is usually the only path left. The signs that actually matter show up earlier, when the repair is still a repair and the bill is still small. This guide covers those early indicators: what frame racking looks like before a sash drags, how to tell interior glass fog from plain surface condensation, what a door that catches at the threshold is telling you about your frame, and which findings belong to the manufacturer’s warranty versus your own maintenance list. We wrote it for the homeowner who plans to stay in the house, not flip it.
Styles & brands we work with
- Single hung
- Double hung
- Horizontal roller
- Casement
- Bay & bow
- Sliding glass doors
- Entry doors
- Impact garage doors
- PGT
- CGI
Quick Answer
The early warning signs that matter most in North Las Vegas are a narrowing reveal gap at the sash corners, condensation trapped between the panes (not on the inside surface), a door that scrapes the threshold only in summer, and sealant that pulls away cleanly from the frame instead of cracking. Catching these at the subtle stage normally means a repair rather than a full replacement. The larger the gap between the first sign and the first call, the more likely you are paying for new units instead of fixing the ones you have.
Table of Contents
- Why North Las Vegas Is Hard on Windows and Doors
- Frame Racking: The Earliest Sign Most Homeowners Miss
- Condensation Between Panes vs. Surface Condensation
- Door Warning Signs in the Heat: Threshold Drag and Latch Misalignment
- Caulk Shrinkage vs. Sealant Adhesion Failure
- Warranty Claim Now vs. Maintenance Repair You Own
- A 15-Minute Inspection You Can Do This Weekend
- Common Mistakes to Avoid
- When to Call a Professional
- Frequently Asked Questions
- The Bottom Line
Why North Las Vegas Is Hard on Windows and Doors
North Las Vegas sits on ground that moves. The expansive clay soils under much of the valley swell when they take on water and shrink hard when they dry, which is most of the year. A window rough opening framed into a wall over that soil doesn’t stay square forever. The wall itself flexes by small amounts season after season, and the frame either follows the flex or it fights it. Frames that fight it eventually rack out of square, and that is where most of the trouble starts.
The heat adds a second layer. Summer surface temperatures on west-facing glass in North Las Vegas run well past ambient air temperature, and that thermal cycling works on sealant, gaskets, and vinyl or aluminum frames every single day. The desert dust does the rest. Caliche dust is alkaline and abrasive, and once it finds a hairline opening in a sealant bead, it works into the gap and widens it over multiple seasons. Wind-driven dust against a north or west wall is the usual entry point.
We’ve seen this pattern repeat across neighborhoods like Aliante, Centennial, and the older tracts near Craig Road: a home that looked tight at the ten-year mark starts showing small frame movement at fifteen. That timeline isn’t a coincidence. It’s the soil and the sun doing what they do.
North Las Vegas also enforces the same energy code provisions as the rest of Clark County, which means windows installed here after the code updates carry specific U-factor and Solar Heat Gain Coefficient ratings. Those ratings are part of the manufacturer warranty documentation. If the paperwork wasn’t registered properly at install, a legitimate seal-failure claim can stall. That’s the reason TruePane Windows & Doors North Las Vegas home registers both warranty layers in writing before leaving a job, and it’s the reason we tell homeowners to find their original install paperwork before calling anyone about a fogged unit.
Frame Racking: The Earliest Sign Most Homeowners Miss
Frame racking is what happens when a window’s frame goes out of square. It is the single most useful early indicator available to a homeowner, because it appears months or years before the sash actually becomes hard to open. Racking doesn’t announce itself with a noise or a leak. It shows up as a measurement that has changed.
What to look for: open the window and look at the gap between the edge of the sash and the frame along all four sides, called the reveal. On a healthy window the reveal is even all the way around, usually within about an eighth of an inch. When racking starts, one corner of the reveal narrows while the opposite corner opens up. The sash gets tighter where the gap shrank and looser where it widened. That narrowing corner is your first sign. It is also where the sash will eventually bind.
- Open the window fully and stand square to it.
- Look at the gap between the sash edge and the frame at the top left corner, then the top right. Compare them.
- Do the same at both bottom corners.
- If one corner is visibly tighter than its diagonal opposite, the frame has begun to rack.
- Check the sash corners themselves for hairline separation where the stiles and rails meet. A joint that has opened even slightly is a stress indicator.
In North Las Vegas, racking shows up most often on windows set into north- and west-facing walls, and in homes built on the more reactive clay pockets. It also shows up after a wet winter followed by a dry summer, when the soil moves the most. Catching it here means a technician can re-shim and re-secure the frame, reset the sash, and re-seal the perimeter – a real repair, not a replacement. Wait until the sash won’t close and the frame has to come out, and you’re pricing window replacement in North Las Vegas instead of a repair.
One caution we give every homeowner: don’t try to force a binding sash back into square by prying at the frame or shimming under the sash with a screwdriver. You will crack the glass or bend the frame hardware and turn an inexpensive reset into a replacement. Racking is diagnosis, not a DIY fix.
Condensation Between Panes vs. Surface Condensation
Fog inside a double- or triple-pane unit is the sign most homeowners recognize. But the fog they are looking at is often on the inside of the room, not inside the glass. Those two situations look similar in the early morning and have completely different urgency.
Condensation between the panes means the sealed insulated glass unit has lost its seal. Moisture got into the air space between the panes and the unit can no longer keep it out. This is a manufacturer defect in most cases, and the fix is a new glass unit installed into the existing frame. The frame stays; the glass gets replaced. If your unit is still under its manufacturer warranty, this is a claim you should file now, not next season – warranty windows close, and documentation ages out.
Surface condensation on the room-side of the glass is a different animal. It happens when humid interior air meets cold glass. In North Las Vegas, that is usually caused by one of three things:
- An HVAC vent blowing cold air directly at the glass, dropping its surface temperature below the dew point.
- Interior humidity from a bathroom or kitchen without adequate exhaust.
- A single-pane or older low-performance glass unit that simply runs colder than the room.
Here is how to tell them apart without guessing. Wipe the glass with a dry cloth. If the moisture comes off and the glass behind it is clear, it was surface condensation. If you wipe the inside surface and you can still see fog trapped in the middle of the assembly, the seal has failed. Another test: run your hand across the inside of the glass. Surface condensation feels wet. Fog between panes feels dry because the moisture is trapped behind the second pane.
In our experience across North Las Vegas, west-facing units on upper floors fog from the inside out first. The heat load is highest there, the sealant works hardest, and that is where the first failed unit usually shows up. If you’ve got a fogged unit confirmed between the panes, get the manufacturer paperwork out and start the claim while the window is still under coverage. A crack in an exterior sealant bead, or a frame that has already racked, can complicate a seal-failure claim – which is one more reason to catch racking first.
Door Warning Signs in the Heat: Threshold Drag and Latch Misalignment
Doors in North Las Vegas tell you what the frame is doing. A door that dragged at the threshold in August and swung free in January isn’t a door problem. It’s a frame problem, and the door is reporting it. The key is learning which symptom points to frame movement and which points to worn hardware.
Threshold drag means the bottom edge of the door is scraping the sill or threshold as it swings. If the drag appears only in the heat of summer and disappears in cooler months, the frame or the slab is responding to temperature and soil movement. If the drag is constant year-round and the door has simply settled onto the sill, it’s usually a hinge or hardware adjustment. The seasonal pattern is the tell.
Latch misalignment means the door no longer catches in the strike plate cleanly, or catches only when you lift the handle. The latch sits near the top or middle of the door edge. When the frame racks at the top corner, the latch and strike plate go out of alignment even though the door slab itself hasn’t changed. If the deadbolt and the latch stop lining up at the same time, that’s a frame movement indicator, not a hardware wear issue. If only the latch has gone sloppy and the deadbolt still seats easily, it’s more likely the latch mechanism.
A quick way to distinguish the two in North Las Vegas:
- Open the door and look at the gap between the top of the door and the head jamb. It should be even across the width. If it’s tight on one side and wide on the other, the frame has moved.
- Look at the gap on the hinge side versus the strike side. A frame that has racked will show an uneven gap.
- Hold a straightedge or a level against the hinge-side jamb. If it’s plumb at the bottom and out at the top, the jamb is out of plumb.
- Close the door and watch the latch plate as the door swings shut. If it contacts high or low on the strike, adjust the strike only after confirming the frame is square.
Getting this wrong is expensive – homeowners replace perfectly good doors every year because a frame was out of square and nobody checked. When we look at door issues in North Las Vegas, the first question is always whether the frame is true. If it isn’t, the fix is at the frame, not the door. If it is, hardware adjustments usually solve it in a single visit. A misaligned door on a wall that has shifted may also need a perimeter re-seal, which is where door installation in North Las Vegas and service overlap – many of the doors we’re called out to service were installed by somebody else, and many of the “replacements” homeowners were quoted turn out to be repairable once the frame is checked.
Caulk Shrinkage vs. Sealant Adhesion Failure
This is the call that separates a normal maintenance item from a real problem, and it’s the one homeowners most often misdiagnose. Caulk shrinks. That’s normal. Caulk pulls away from the frame cleanly while leaving a residue line on the glass or the frame. That’s adhesion failure, and it’s not normal.
Normal caulk shrinkage: the bead narrows slightly, forms small cracks, and stays bonded to both surfaces it was applied to. You can see the texture of the bead change but the caulk is still doing its job of sealing the joint. This is seasonal. In North Las Vegas, the extreme swing between cool nights and hot days works on the sealant constantly, and a bead that has thinned over several years is expected. A maintenance re-caulk with a high-quality exterior sealant is all it needs.
Sealant adhesion failure: the caulk has released from one side of the joint. You’ll see a clean line where the sealant no longer grips the frame or the glass, a gap between the bead and the surface it’s supposed to protect, or a bead that peels away in a strip when you touch it. That gap is now an infiltration point. In North Las Vegas, the caliche dust that finds this gap will work it wider every wind event, and the alkaline dust weakens the sealant chemistry at the edges so the failure propagates. Once adhesion failure starts, patching it with another bead of caulk is not a repair; you have to remove the failed sealant, clean the joint down to bare substrate, and re-seal correctly.
Here’s the visual test:
- Run a finger along the bead, gently, and look at where it meets the frame and the glass. If the caulk rolls but stays stuck, it’s shrinkage.
- If a section lifts cleanly away from the frame in one strip, that’s adhesion failure at that spot.
- Look for a visible gap behind the bead. Any gap you can see daylight through is not a cosmetic issue.
In our experience, North Las Vegas homes built in the last twenty years tend to fail at the vertical joints and along the sill transition first. Those are the surfaces that see the most thermal movement and the most wind-driven dust. Left alone, adhesion failure is also what causes water to find its way behind the frame on the rare occasions when it rains – and that’s the pathway to frame rot and, eventually, to a full replacement instead of a reseal.
Warranty Claim Now vs. Maintenance Repair You Own
This is the section homeowners want most, and it’s the one most guides refuse to answer plainly. Here it is, without hedging.
File a warranty claim now if:
- Condensation is confirmed between the panes. Seal failure in the insulated glass unit is a covered defect under nearly every manufacturer line we install, including CWS and ES Windows, provided both warranty layers were registered in writing at install. The window itself stays; the glass unit gets replaced.
- The sash binds or drags and the frame is demonstrably out of square, and the install is still inside the workmanship window. Frame racking caused by an installation that didn’t account for soil movement is a workmanship issue. If your install was done by a company that offers a workmanship guarantee, this is theirs to address.
- A door won’t latch cleanly and the frame is out of plumb – provided the movement is happening within the first year or so of a new install.
- Hardware has failed within its stated warranty term. Lock mechanisms, hinges, and rollers carry their own coverage under most manufacturer lines.
These are your maintenance items; they are not warranty claims:
- Surface condensation on room-side glass. That’s an HVAC or humidity issue, not a glass defect.
- Faded or cracked exterior caulk. Sealant is a perishable item, and re-sealing is scheduled maintenance like painting.
- Dust infiltration through a failed sealant bead. See the previous section: adhesion failure is repairable maintenance, not a covered defect.
- Weathered gaskets and weather stripping. These wear with heat and sun.
- Cosmetic impact damage from a screen, a mower, or a stray stone.
What you should not do is file a claim you’re not sure of without reading the manufacturer documentation first. A denied claim doesn’t get re-opened on a technicality, and a claim filed against a window that is actually past its coverage window can count against future documentation. Pull the paperwork, confirm the registration, and confirm the coverage period before you call. If the original installer didn’t register both warranty layers at install, you may not have manufacturer coverage at all – which is exactly the reason we register both layers in writing and state the durations before leaving any job. The Keystone Standard is built around making sure this exact problem doesn’t happen.
A 15-Minute Inspection You Can Do This Weekend
This is the inspection we do on a first service call, minus the tools. Work through it once a year, in late spring before the heat sets in, and you’ll catch most issues while they’re still small repairs. Put a small notepad and a phone camera in your pocket.
- Walk the exterior perimeter and look at the sealant bead around every window and door frame. Note any section where the caulk has separated from the frame or the glass. Photograph it.
- Open every operable window and look at all four reveal gaps at the sash corners. Note any window where one corner is noticeably tighter than its diagonal opposite.
- Check every sealed unit for fog between the panes. Look at the glass from an angle in early morning light when the temperature difference is highest. Note any fog that doesn’t wipe off the room-side surface.
- Open and close every exterior door a few times. Listen for threshold drag. Watch the latch and deadbolt as they meet the strike plate. Note any seasonal drag or latch misalignment.
- Walk the interior of every window and check the reveal on the inside. Frame racking is often easier to see from inside where the light is more even.
- Pull out your original install paperwork and find your warranty registration documents. Note the coverage dates for both the workmanship and the manufacturer layers. If you can’t find them, that’s a phone call worth making.
- Write down what you found with dates and photographs, and keep it. If you ever need to file a claim, documented findings with dates are worth more than a description over the phone.
Most North Las Vegas homes we look at have one or two of these findings, not all seven. One isn’t usually a crisis. Two related findings on the same wall – say, a narrowing reveal plus a separated sealant bead – mean a frame has probably moved, and that’s the call to make. If you find a failing sealant bead on a long vertical joint and a fogged unit on the same wall, that’s the classic signature of a rough opening that has shifted.
Don’t skip step six. Finding your warranty documentation before there’s a problem is the single most useful thing this inspection produces. If you can’t find it, look at window installation in North Las Vegas to understand what proper documentation at install looks like, then call us and we’ll help you work out what’s on record.
Common Mistakes to Avoid
- Waiting for a draft you can feel before calling anyone. By the time you can feel a draft on the back of your hand, the seal failure is well advanced and the repair is more expensive. Catch the narrowing reveal and the early sealant separation first – both are visible long before the draft shows up. In North Las Vegas, the calm, dry stretches make drafts hard to notice because the wind is the only thing that moves air through a small gap, and the wind doesn’t blow every day.
- Assuming fog between the panes is a surface condensation issue. Wiping it doesn’t fix it because the moisture is trapped in the assembly. If you wipe the inside surface and the fog stays, it’s inside the glass and it needs a warranty claim or a glass unit replacement, not more ventilation.
- Patching a failed sealant bead with another bead of caulk on top. Layering caulk over adhesion failure traps moisture into the joint and makes the eventual repair worse. Failed sealant has to come out, the joint has to be cleaned down to bare substrate, and it has to be re-sealed. Anything less is a cosmetic cover.
- Replacing a door that has simply shifted with the frame. Homeowners in North Las Vegas buy new doors every year because the frame is out of square. Straighten the frame first. In most cases the door itself was fine.
- Filing a warranty claim against a maintenance item. A denied claim can’t be reopened on a technicality later, and it complicates legitimate claims on the same unit. Confirm your coverage before you file.
- Ignoring the paperwork. If the original installer didn’t register both warranty layers in writing and confirm the coverage dates, you may not have the manufacturer coverage you think you do. Find the registration documents before you need them, not after.
- Forcing a binding sash or prying a frame back into true. You will crack glass or bend frame hardware and turn an inexpensive reset into a full replacement. Racking is a diagnosis, not a homeowner repair.
- Assuming warranty coverage transfers to a new owner without confirmation. Some manufacturer lines transfer, some don’t. Read the paperwork before you list or buy a North Las Vegas home with new windows.
When to Call a Professional
Call when you’ve confirmed fog between the panes and want the warranty claim handled right. Call when two related findings appear on the same wall – a narrowing reveal and a separated sealant bead, or a threshold drag that appears only in summer with a latch that catches high. Call when a door that you know was installed correctly has gone out of plumb. Call when you can’t find your warranty documentation and need to know what’s actually on record. Call when a sealant bead has failed along a long vertical joint and you can see daylight behind it. And call when a binding sash or a frame that won’t sit square is beyond what you want to handle.
TruePane Windows & Doors North Las Vegas offers free estimates in North Las Vegas – call (833) 734-5506. A live person answers the phone 24 hours a day, 7 days a week, not a voicemail tree. Our technicians have up to 18 years of experience, work background-checked and uniformed, and measure every opening twice. A square deal means the quote is upfront, side-by-side, and in writing.
Frequently Asked Questions
Replacing a failed glass unit in a North Las Vegas home typically runs $250 to $600 per unit depending on the size and the glass package. A full window replacement runs considerably more. If the unit is still under its manufacturer warranty, the glass replacement is usually covered and the cost to you is minimal. Call (833) 734-5506 for an exact quote – estimates are free, and we’ll check your warranty paperwork with you before you spend a dollar.
In most cases a racked frame can be re-shimmed, re-secured, and re-sealed without replacing the window. The window itself rarely needs to come out if the racking was caught early. What we can’t do is stop the cause: if the rough opening has failed, the frame will drift again unless the opening is addressed. A repair that ignores the cause is a repair that comes back. Call (833) 734-5506 and we’ll look at the opening and the frame together.
Wipe the inside of the glass with a dry cloth. If it clears and stays clear, it’s surface condensation from HVAC discharge or interior humidity, and it’s not a warranty item. If the fog is still visible after wiping, the moisture is trapped between the panes, the seal has failed, and it’s a manufacturer defect in nearly every case. Confirm your manufacturer warranty is registered, then call (833) 734-5506 – we’ll help you sort out which layer of coverage applies.
Seasonal threshold drag in North Las Vegas usually means the door frame or slab is responding to heat and soil movement, and the door is reporting it. If the drag disappears in cooler weather, it’s frame movement, not hardware wear. Don’t replace the door. Get the frame checked, and the drag is usually resolved without touching the door itself. Call (833) 734-5506 to have the frame looked at before you price a new door.
Most repairs – glass unit replacement, frame reset, threshold adjustment, perimeter reseal – are completed in a single visit. Larger repairs that involve opening up the wall, addressing a failed rough opening, or replacing multiple units take longer and we schedule them properly. Most jobs in North Las Vegas are completed in a single visit, and we’ll tell you upfront what the timeline looks like. Call (833) 734-5506 for a free estimate and a clear job timeline.
Window replacement permits are required in North Las Vegas under the same code provisions as the rest of Clark County, and we pull them and pass inspections on jobs that need them. Repairs that don’t alter the opening, the unit rating, or the structure typically don’t require a permit. What we don’t do is tell a homeowner a permit isn’t needed to save a few dollars on the bid. The permit is part of a square deal. Call (833) 734-5506 for a free estimate and we’ll tell you exactly what’s required for your job.
The Bottom Line
The warning signs that matter most in North Las Vegas show up before the ones most homeowners know to look for. A narrowing reveal gap at a sash corner, condensation trapped in the glass rather than on it, a door that drags only in summer, and sealant that lifts cleanly from the frame are all early-stage indicators. Catching them means a repair instead of a replacement. Catching them also means knowing your warranty documentation before there’s a claim to file, since the coverage either exists or it doesn’t and that isn’t something you can argue your way into later. Do the annual walkaround, photograph what you find, and call a professional when two findings appear on the same wall. That’s the whole guide, and it’s the last call you should need to make on the window and door side of your home.
TruePane Windows & Doors installs, replaces, and services windows and doors for North Las Vegas homeowners, and is an authorized installer for more than a dozen manufacturer lines – with side-by-side quotes on paper so you see exactly what you’re buying. Every job is covered by the 90-Day Done Right Promise and The Keystone Standard. A live person answers the phone 24 hours a day, 7 days a week. Free estimates. Standing offers include $50 off any repair over $250, an $89 seasonal tune-up, and a permanent 5% discount for seniors and veterans. Call (833) 734-5506 to schedule your free estimate.
Written by the team at TruePane Windows & Doors North Las Vegas.
See the difference
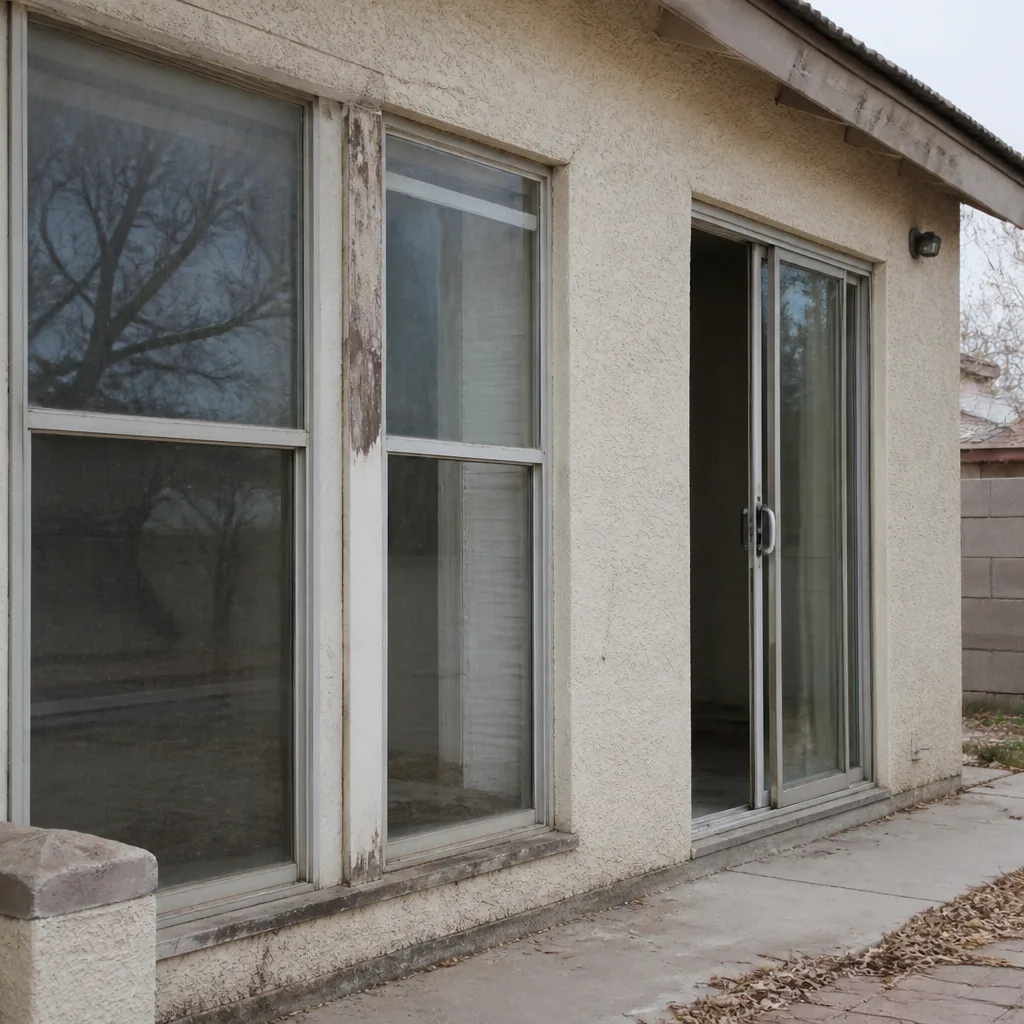 Before
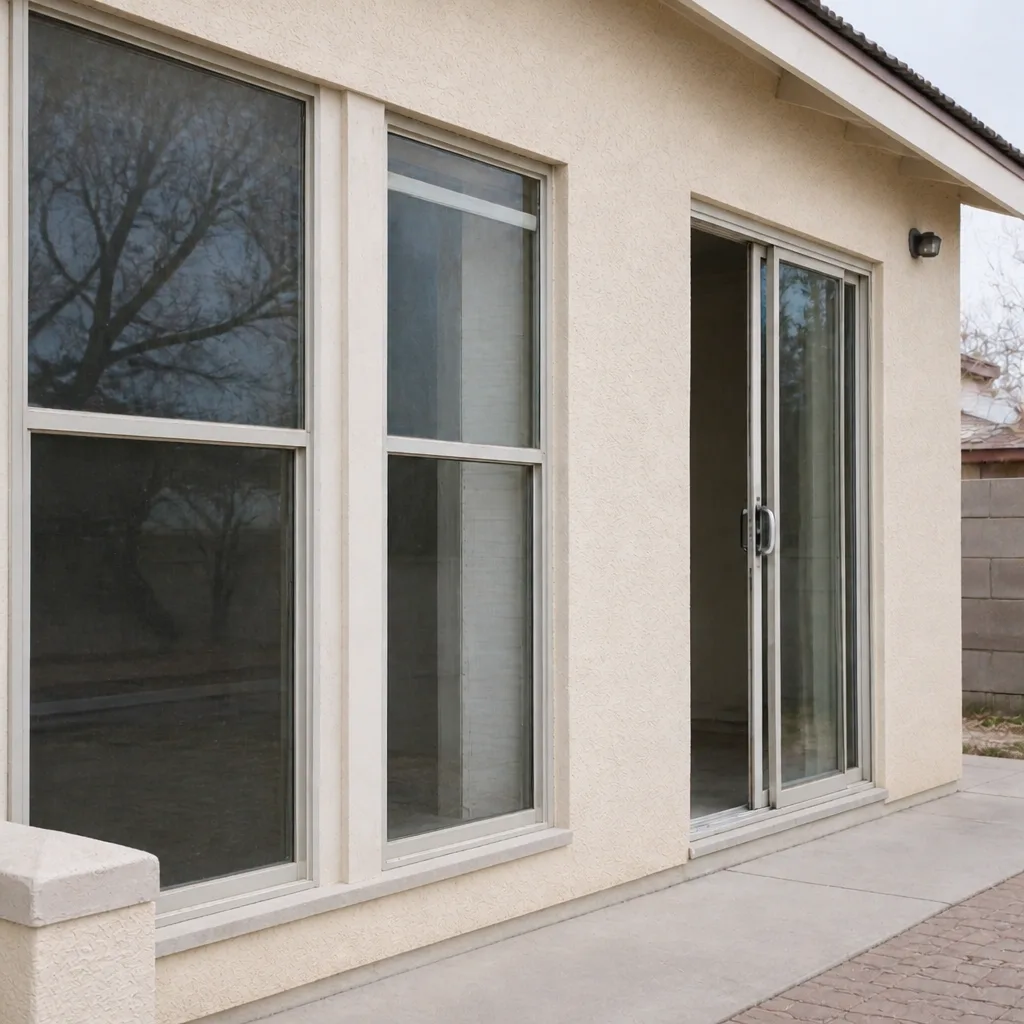 After
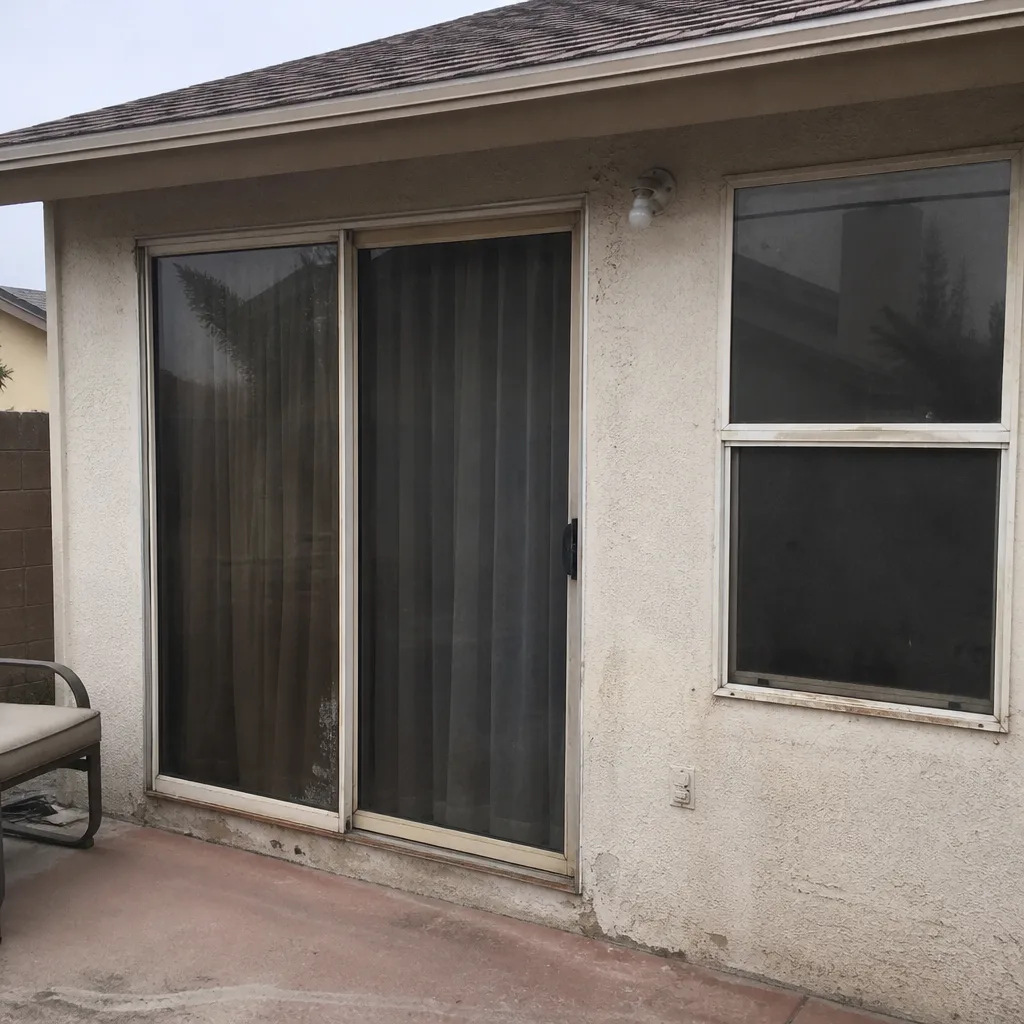 Before
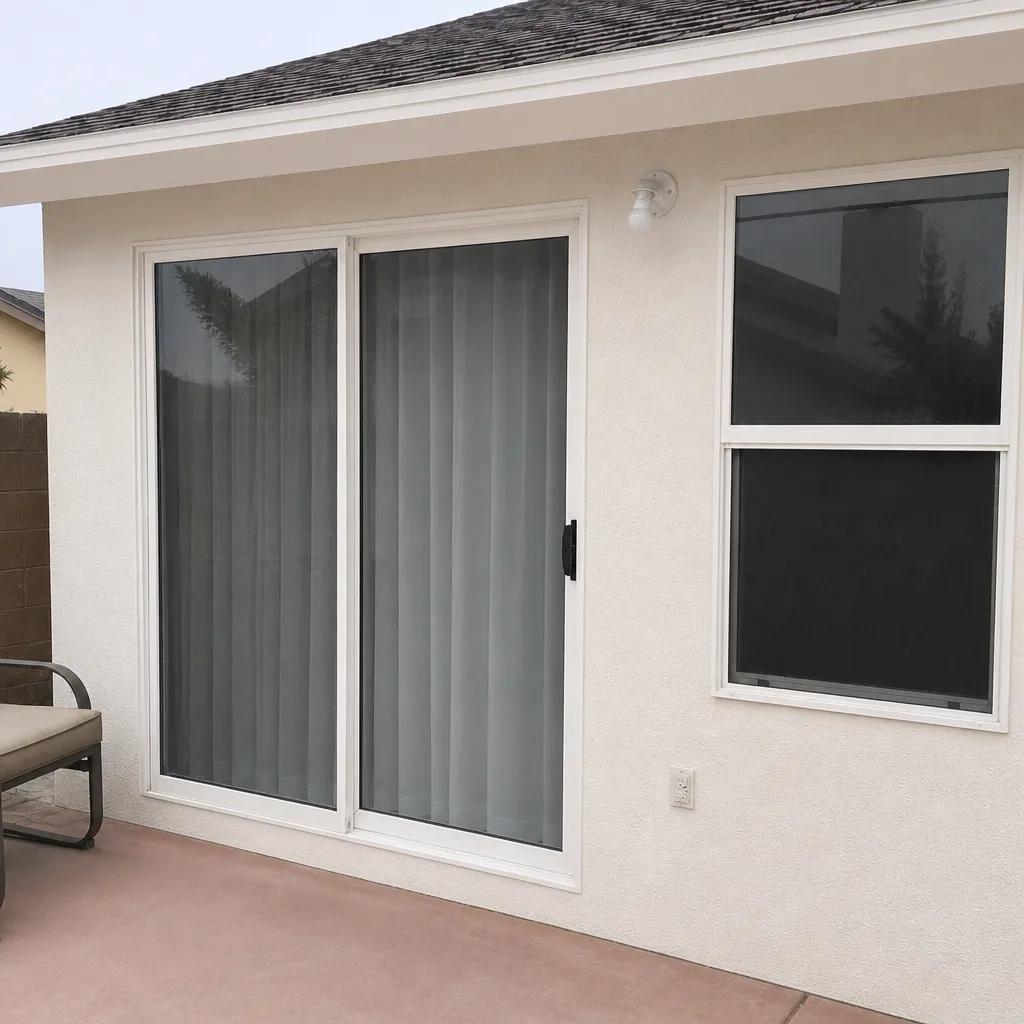 After
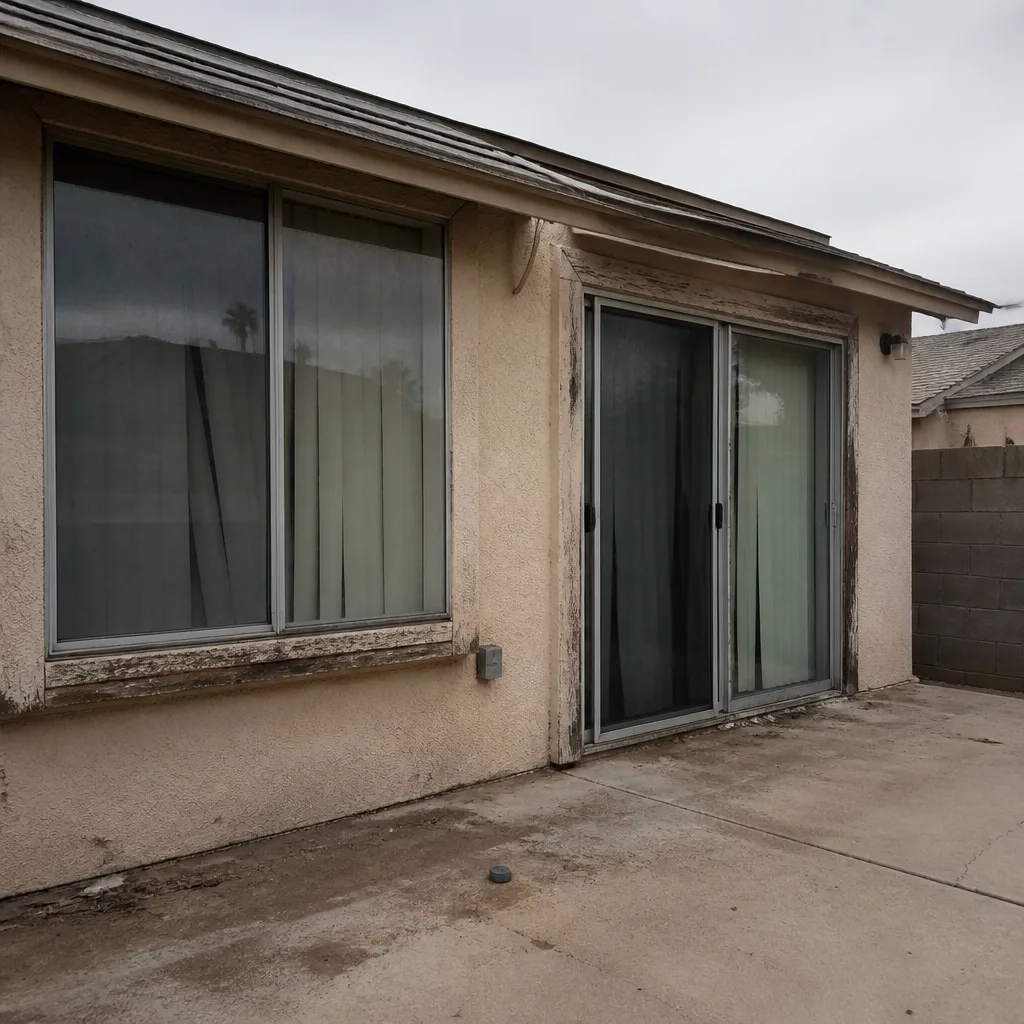 Before
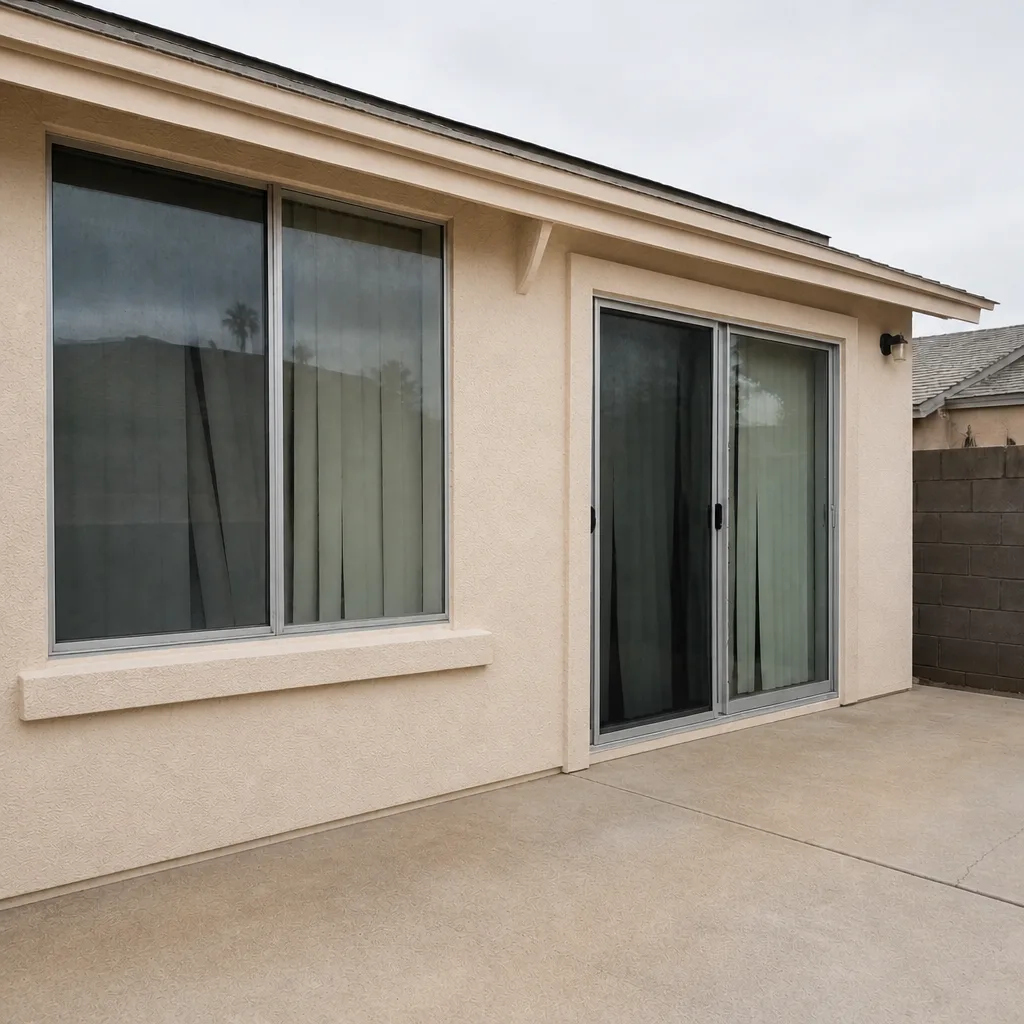 After