

Last updated November 18, 2026
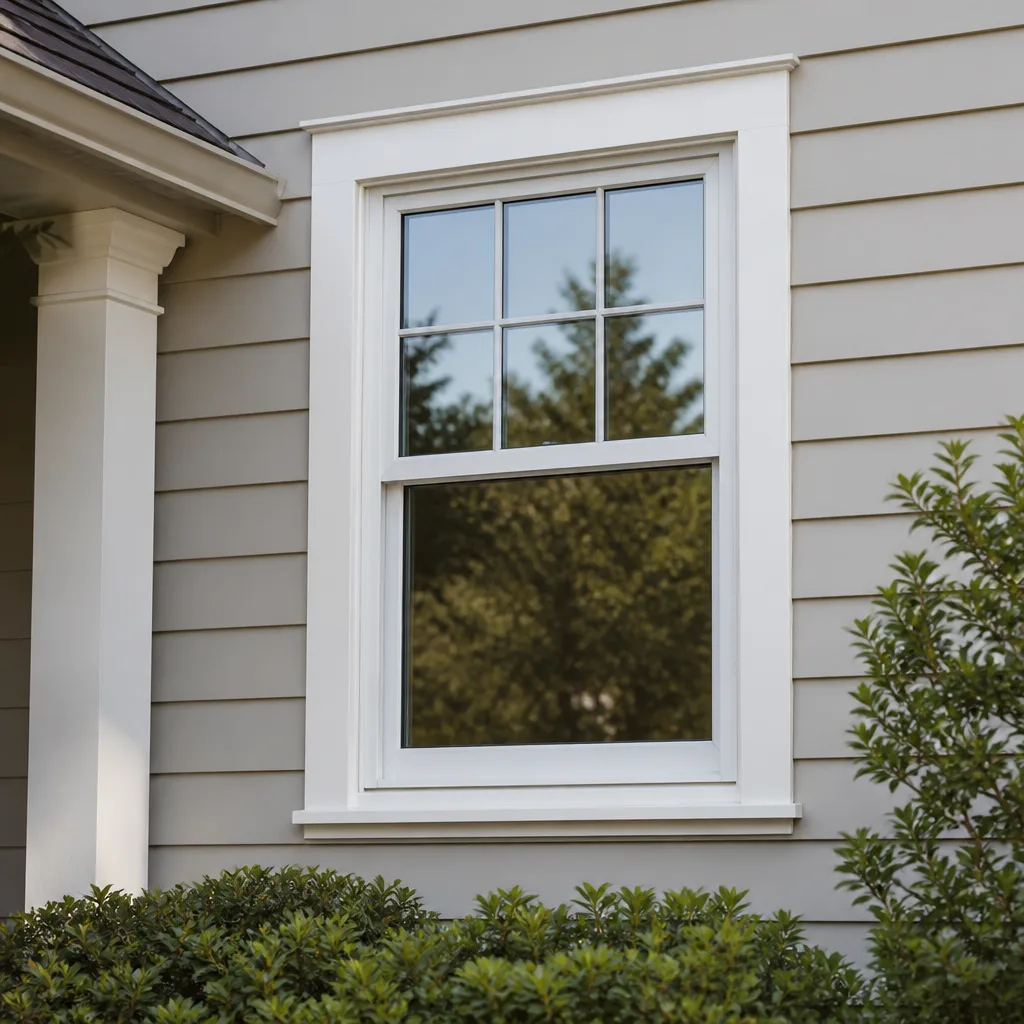 Single hung
 Double hung
 Horizontal roller
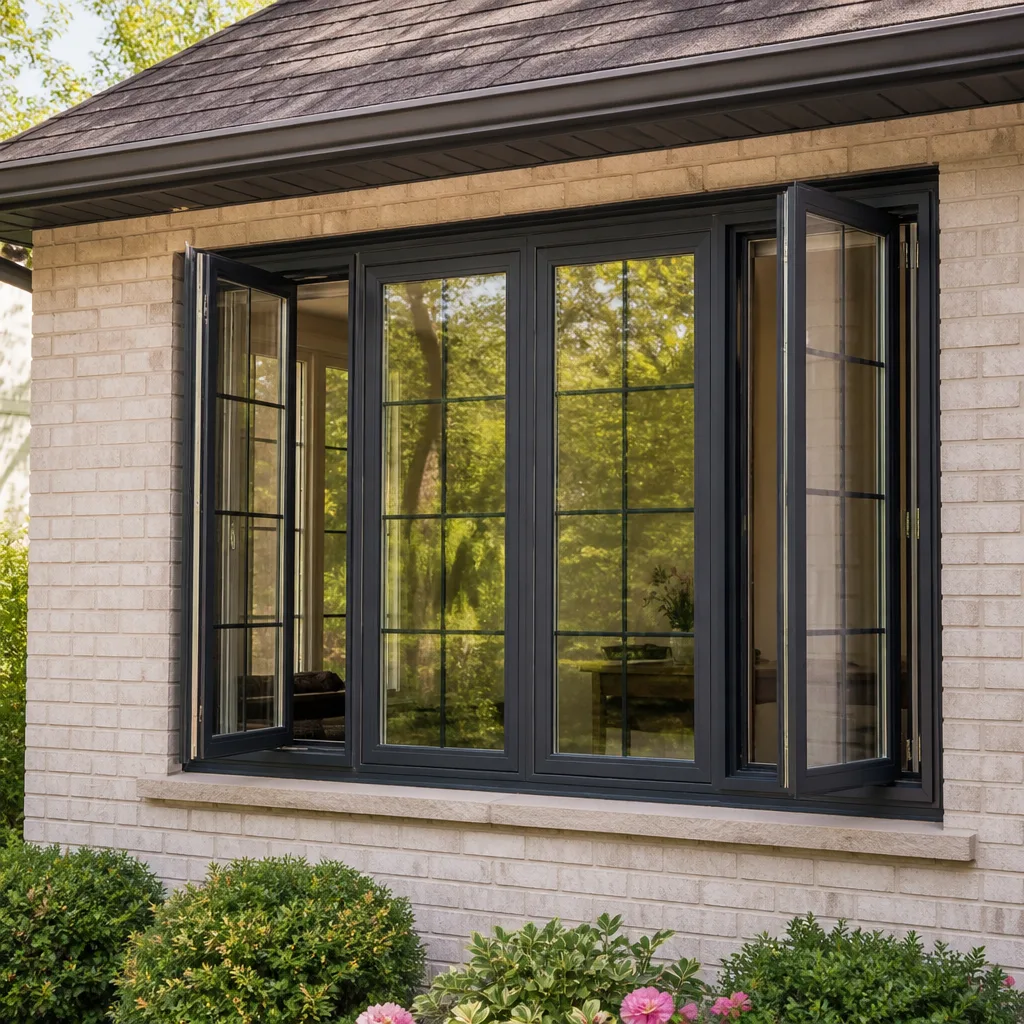 Casement
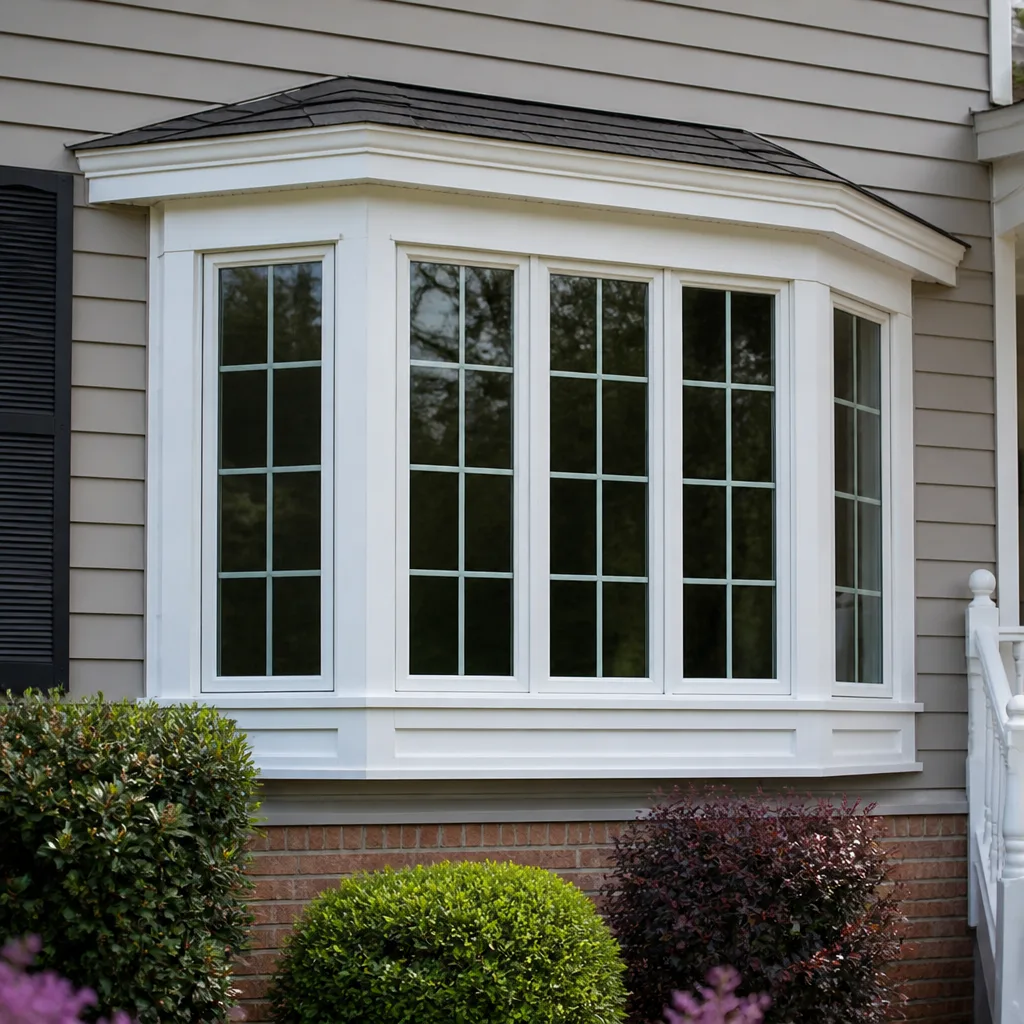 Bay & bow
 Sliding glass doors
 Entry doors
 Impact garage doors
 PGT
 CGI
Free in-home measure and quote - PGT, CGI and CWS impact lines compared on your actual openings, style by style
Get your free estimateWindow Installation Maintenance Checklist for North Las Vegas Homeowners
Weep holes are small slots at the bottom of a window frame, and they account for a disproportionate share of the water intrusion calls we run in North Las Vegas. Not because it rains much here. Because wind-driven dust plugs those slots for months at a time, and the handful of monsoon afternoons each summer send water looking for somewhere to go. The frame fills. The water finds the path of least resistance, and that path usually runs into your drywall. This guide is built backward from the failure sequences our technicians actually document on North Las Vegas service calls, so every task is tied to a real consequence if you skip it.
Quick Answer
A North Las Vegas homeowner should inspect weep holes and drainage channels monthly, check perimeter sealant twice a year after a hard thermal cycle, and have the installation warranty registration confirmed in writing at the time of install. Prioritize by failure consequence: water intrusion first, air and energy loss second, hardware and operation third, cosmetic last.
Styles & brands we work with
- Single hung
- Double hung
- Horizontal roller
- Casement
- Bay & bow
- Sliding glass doors
- Entry doors
- Impact garage doors
- PGT
- CGI
Table of Contents
- Why North Las Vegas Windows Fail Differently
- Task 1: Clearing Weep Holes and Drainage Channels
- Task 2: Checking Sealant After a Thermal Cycle
- Task 3: Verifying Your Installation Warranty Registration
- Task 4: Lubricating Hardware in an Arid Climate
- Task 5: Inspecting Glass Seals and Fogging
- Task 6: Checking Frame Square and Operation
- Building a Realistic Maintenance Schedule
- Common Mistakes to Avoid
Why North Las Vegas Windows Fail Differently
North Las Vegas does not punish windows the way most maintenance advice assumes. We don’t have months of soaking rain, freeze-thaw cycles, or coastal salt. What we have is abrasive dust moving at speed, sun that bakes the south and west exposures for most of the year, and spring and fall days that swing fifty degrees between morning and afternoon. Those three conditions drive almost every failure we see on a service call in North Las Vegas.
The dust is the quiet one. Fine particles from the open desert and from construction grading settle into every horizontal surface a window has: the sill track, the weep channel, the hinge pockets on casement units. Once packed in, dust turns into a sponge. It holds a little moisture from a monsoon or a sprinkler overspray and keeps the frame wet long enough to start breaking down the sealant at the perimeter. That is the start of most water intrusion we diagnose.
The thermal swing is the second engine of failure. When the frame and the caulk bead expand and contract at different rates, the bond between them moves. A hard cycle of fifty degrees in a day does more damage to perimeter sealant than a steady hundred-degree summer because the movement is faster. Caulk that looked fine in July can be stretched thin by October.
The sun does the rest. Ultraviolet exposure on the south and west faces of a house in North Las Vegas is brutal on glass seals and on exterior caulk, and it is why a window that faces west can outpace a shaded north-facing one on seal failure by several years. If you live in an area with newer construction where low-E coating is standard on installations, you have a head start. If your windows date to earlier installs, the checklist below matters more, not less.
Task 1: Clearing Weep Holes and Drainage Channels (Highest Priority)
This is the task that prevents the most expensive damage, and it is the one most North Las Vegas homeowners never do. The slots at the bottom of a window frame exist to let water out. Plug one and the frame has to hold water instead of shedding it.
Here is how we walk a homeowner through it on a service visit:
- Find the weep holes. On most sliding and single-hung units they are the small slots or screened openings on the exterior bottom edge of the frame. On some CGI and ES Windows units they are covered by a small plastic flap or a porous screen insert.
- Look before you poke. If the hole is covered by a manufacturer screen or flap, do not remove it. A screen that is clogged from dust should be brushed clean from the outside, not pulled out.
- Use a soft-bristle brush or a vacuum with a crevice tool to clear loose dust from the channel first. A stiff wire or a screwdriver can score the frame finish and it can void a finish warranty. Keep metal tools away from the weep channel.
- Flush with a gentle stream of water from a hose or a spray bottle. If water drains out and away from the frame, the channel is clear. If it pools or backs up into the sill, the channel is still blocked and needs a second pass.
- Inspect the sill track for sand and grit. Dust collects in the sliding track and migrates into the weep channel from the inside. Vacuum the track on the same schedule.
We recommend a monthly check in North Las Vegas from March through October, when dust and wind are heaviest, and quarterly the rest of the year. It takes five minutes per window. A water intrusion call that runs into hundreds or thousands in drywall and framing repair is almost always a plugged weep hole that went unnoticed through a monsoon.
One caution: the weep system is part of the window’s design, and modifying it (drilling extra holes, or sealing one to stop a draft) is a common mistake that can affect the manufacturer warranty. If a window is leaking at the sill, the fix is to clear the channel, not to add a hole or a bead of caulk over it.
Task 2: Checking Sealant After a Thermal Cycle
Perimeter caulk is the part of a window installation that lives the hardest life in North Las Vegas. It is the joint between the window frame and the wall, and it takes every expansion and contraction of both. Checking it twice a year, and specifically after a hard temperature swing, catches failure before water gets behind the frame.
What to look for on a walk around the exterior:
- A visible gap. Any place the caulk bead has pulled away from the frame or the wall surface is open to water. This is the one to flag first.
- Cracking or crazing. Fine hairline cracks on the surface of the caulk are early UV breakdown. They will widen with the next thermal cycle.
- Chalking and crumbling. Caulk that wipes off on your finger or crumbles at the touch has lost its elasticity and needs replacing, not patching.
- Caulk that has gone hard. A bead that is brittle instead of slightly rubbery will not flex with the frame, and the joint will fail.
- Mildew or dark staining at the joint. This is often a sign the bead is holding water rather than shedding it.
Spring and fall in North Las Vegas are the hard seasons for sealant, not summer. A day that hits ninety by afternoon and drops into the forties overnight puts the perimeter joint through more movement than a steady stretch of July heat. We tell homeowners to check after the first cold snap in the fall and after the first warm spell in the spring.
If you find a failed bead, the fix is to remove the old caulk, clean the joint, and replace it with a high-quality exterior sealant rated for masonry and frame materials. Doing the job yourself is possible on a slab-on-grade exterior. On second-story windows, or if you are not sure the correct caulk is going back in, call a professional. The wrong sealant on a manufactured window frame can degrade the finish and complicate a warranty claim.
Task 3: Verifying Your Installation Warranty Registration
An installation warranty is only worth what is registered. We have run service calls in North Las Vegas where the homeowner paid for a full replacement and had nothing in writing from the installer, and the manufacturer had no record of the job. That is a hard position to be in when a window fogs or a frame leaks.
What a homeowner can verify without calling anyone:
- You should have a paper document that states the manufacturer warranty term and the workmanship warranty term separately. Two layers. Both in writing.
- The manufacturer warranty registration should have been filed with the manufacturer, not just handed to you. Ask for the confirmation.
- The document should name the product line. If it says “window” and nothing else, it is not specific enough to enforce.
- The workmanship term should be stated in days or years, not left vague.
What requires a call: the manufacturer’s actual registration record. You can call the manufacturer directly and ask them to confirm the registration is on file against your address and the product line. This is the one verification most homeowners never do, and it is the one that matters most. If the installer never filed the registration, the warranty can be limited or void depending on the manufacturer.
If you are unsure what you have on file, call the company that did the install. A reputable installer should be able to produce the registration confirmation. Under The Keystone Standard, we register both manufacturer warranty layers in writing and state the durations before the truck leaves the driveway, because a warranty the customer can’t prove is a warranty that causes an argument later. If you are considering a replacement, our window replacement in North Las Vegas page explains how the two warranty layers work before you sign anything.
Task 4: Lubricating Hardware in an Arid Climate
Window hardware is a moving part, and in North Las Vegas the moving parts live in dust. Casement cranks, sliding rollers, and lock hardware all collect fine grit, and the wrong lubricant turns that grit into a grinding paste.
The rule we give every homeowner: use a dry-film or silicone-based lubricant, never petroleum-based grease or household oil. Petroleum lubricants stay tacky. In an arid, dusty climate, anything tacky becomes a magnet for sand, and the sand works its way into the moving parts and wears them down. A dry silicone spray leaves a thin film that does not grab dust.
How to do it:
- Vacuum the track and the hardware with a crevice tool first. Lubricating over grit is worse than doing nothing.
- Apply a dry-film or silicone spray to the sliding track and to the pivot points on a casement crank. A short burst is enough. You are not soaking it.
- Work the window open and closed a few times so the lubricant distributes.
- Wipe up any excess. A visible spray puddle collects dust.
- Check lock hardware and strike plates for looseness while you are there. A lock that has worked loose lets air in and can let the sash move in the frame.
Do this quarterly. It is the difference between a casement that still cranks smoothly ten years in and one that binds every spring.
Task 5: Inspecting Glass Seals and Fogging
Fogging between the panes is the clearest sign a sealed unit has failed. On a multi-pane window, the space between the panes is sealed at the factory, and when the edge seal breaks, moisture gets in and the gas escapes. In North Las Vegas, the combination of summer heat and intense UV on south and west faces is the biggest driver of edge seal failure.
Check every window on a cool morning when the temperature contrast between inside and outside is greatest. Fogging, condensation trapped between the panes, or a milky haze at the edges is a failed seal. It will not fix itself and it is not something a homeowner can repair at home. The glass unit has to be replaced. The frame can usually stay.
Also check for:
- Condensation on the room-side glass where it never used to appear. This can be a sign of high indoor humidity, not a failed window, but it is worth noting.
- A wavy or distorted reflection on a large window, which can indicate the glass was poorly set or the unit has started to warp from heat stress.
- Chipped or broken glass at the edge. Even a small chip at the edge of an insulated unit can open the seal to moisture over time.
Fogged windows on a window installed by a company that registered the manufacturer warranty may be covered under that warranty. This is exactly why the paper trail from Task 3 matters. If your fogging turns out to be a glass unit that needs replacing rather than a whole window, our team can tell you whether the existing frame is reusable. A lot of what we do on window installation in North Las Vegas calls is deciding honestly whether a frame is worth keeping.
Task 6: Checking Frame Square and Operation
An installed window should operate with two fingers and no force. A casement that binds, a slider that drags, or a sash that will not seat evenly against the frame is telling you the opening or the frame has moved. In older North Las Vegas homes, this can be a sign of foundation movement or soil settling, and it is worth knowing which comes first.
Do this check twice a year:
- Open and close each window through its full travel. Note any drag, binding, or point where it gets hard to move.
- Look at the gap around the sash when it is closed. The gap should be even all the way around. An uneven gap means the frame is out of square or the hinges have shifted.
- Check the sill corner for cracks in the interior wall finish. A hairline crack at a window corner that grows over time is worth a conversation with a professional about the opening, not just the window.
- Test the lock. It should engage easily with the sash closed. A lock that needs force to latch means the sash is not seating where it should.
Most of what we correct on these calls is alignment and hardware, not a full replacement. A window that binds in July and loosens in January is a real pattern in North Las Vegas, and it points to the frame and the opening moving with temperature, not a defect in the glass. A technician can tell the difference between a window that needs adjustment and a window that needs to come out. If the frame has moved and the unit is not true anymore, we say so. If the pane is not true, the job is not done.
Building a Realistic Maintenance Schedule
The reason most checklists get abandoned is that they are organized by season and not by consequence. If you do nothing but the first task, you prevent the most expensive failure. Everything else is lower stakes. Here is the order we recommend, with the actual intervals:
- Monthly, March through October: Clear weep holes and vacuum sill tracks. Highest priority, highest return.
- Twice a year, after a hard thermal cycle: Walk the exterior and check perimeter caulk. This is the spring and fall task.
- Quarterly: Dry-lubricate hardware and check locks on casement and sliding units.
- Twice a year, on a cool morning: Inspect glass seals for fogging. This one does not need tools, just attention.
- Once at install and once a year after: Confirm warranty registration is on file with the manufacturer.
If you are not sure how your windows were installed, or if you have never seen the paperwork, our TruePane Windows & Doors North Las Vegas home page walks through how a proper install is documented. It is also a fair place to start if you have a service question and do not know which task applies.
Common Mistakes to Avoid
- Sealing a weep hole to stop a draft. The weep hole is there for drainage, not ventilation, and sealing it traps water in the frame. This is the single most common mistake we correct in North Las Vegas.
- Using petroleum-based lubricant on tracks and cranks. It holds dust and turns into abrasive paste in our climate. Dry-film silicone only.
- Caulking over an old bead without removing it. A new bead over a failed one will separate from the old caulk, not the frame, and the leak comes back within a season.
- Assuming the installer filed the warranty registration. Always confirm with the manufacturer directly. If it was never filed, you may have no claim on a fogged unit years later.
- Ignoring a hairline crack at a window corner. In older North Las Vegas homes, that crack can be a settling sign at the opening, not a cosmetic issue. Left alone, the frame rack out of square and the window binds.
- Patching cracked caulk instead of replacing it. A patch sits on the surface; the failure is at the bond line. Replace the bead.
- Waiting for a fogged unit to clear. It will not. A failed seal on a multi-pane window needs the glass unit replaced, and waiting lets the fogging etch the glass.
See the difference
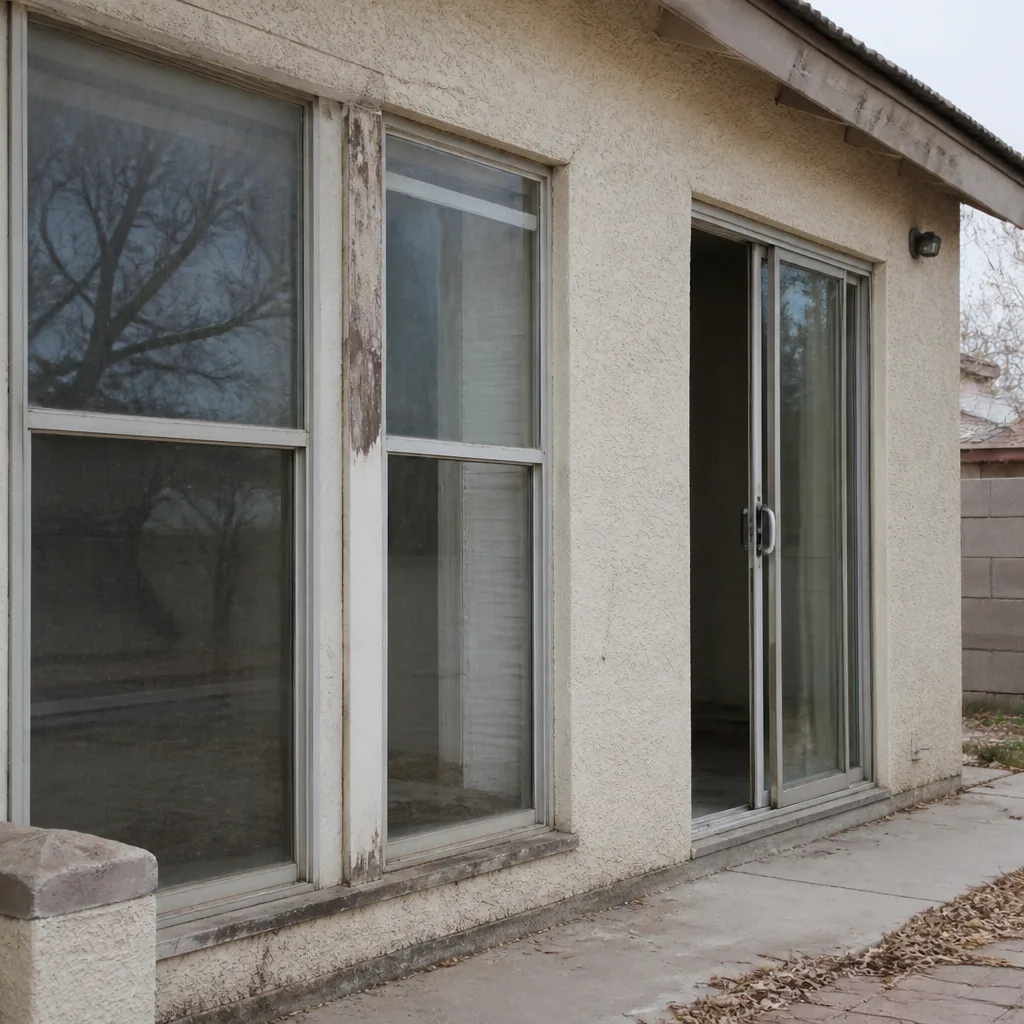 Before
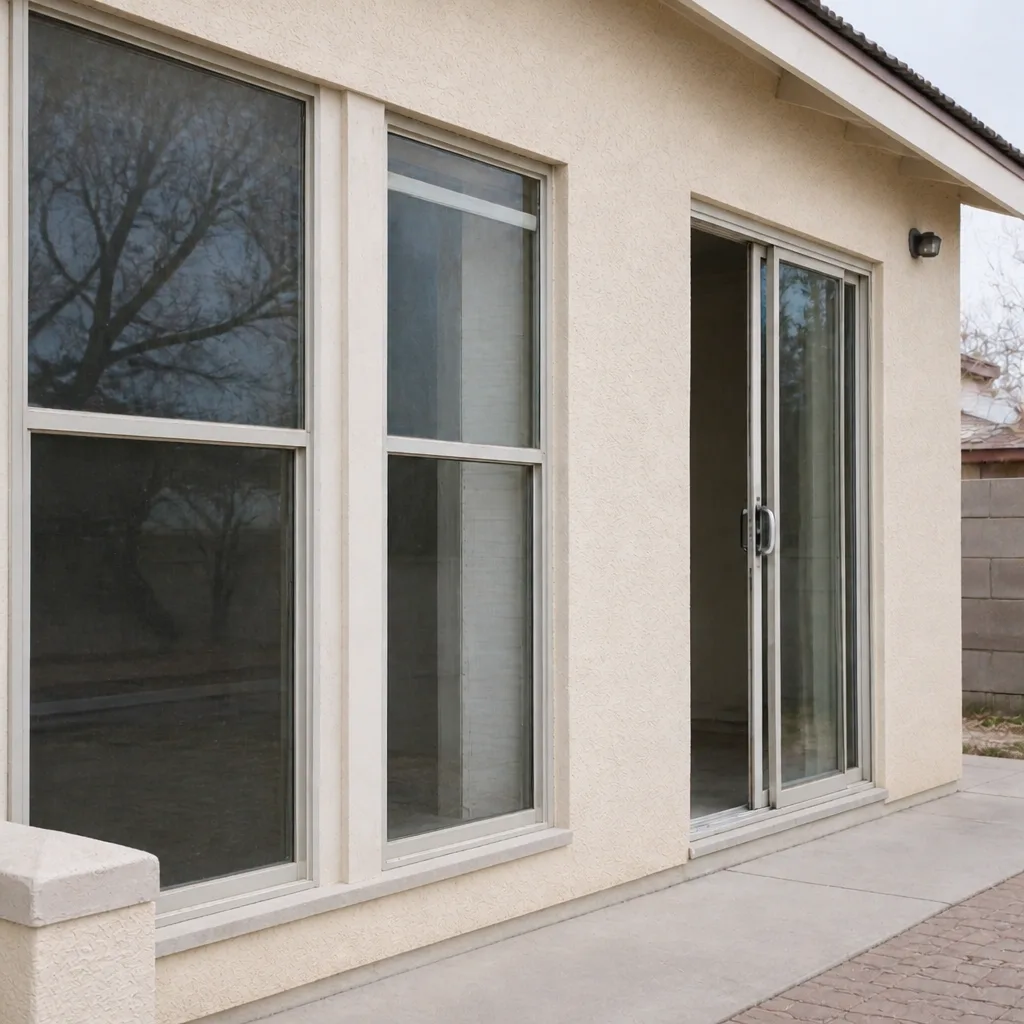 After
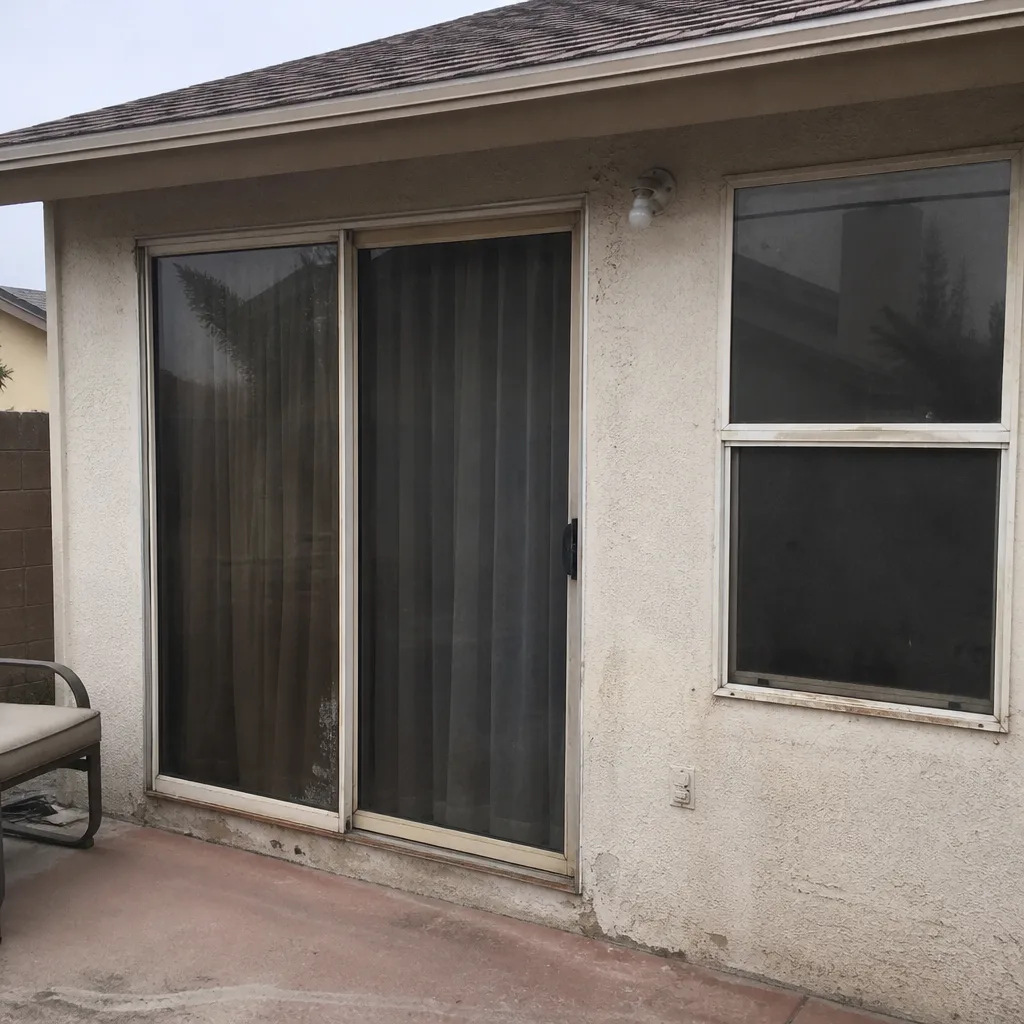 Before
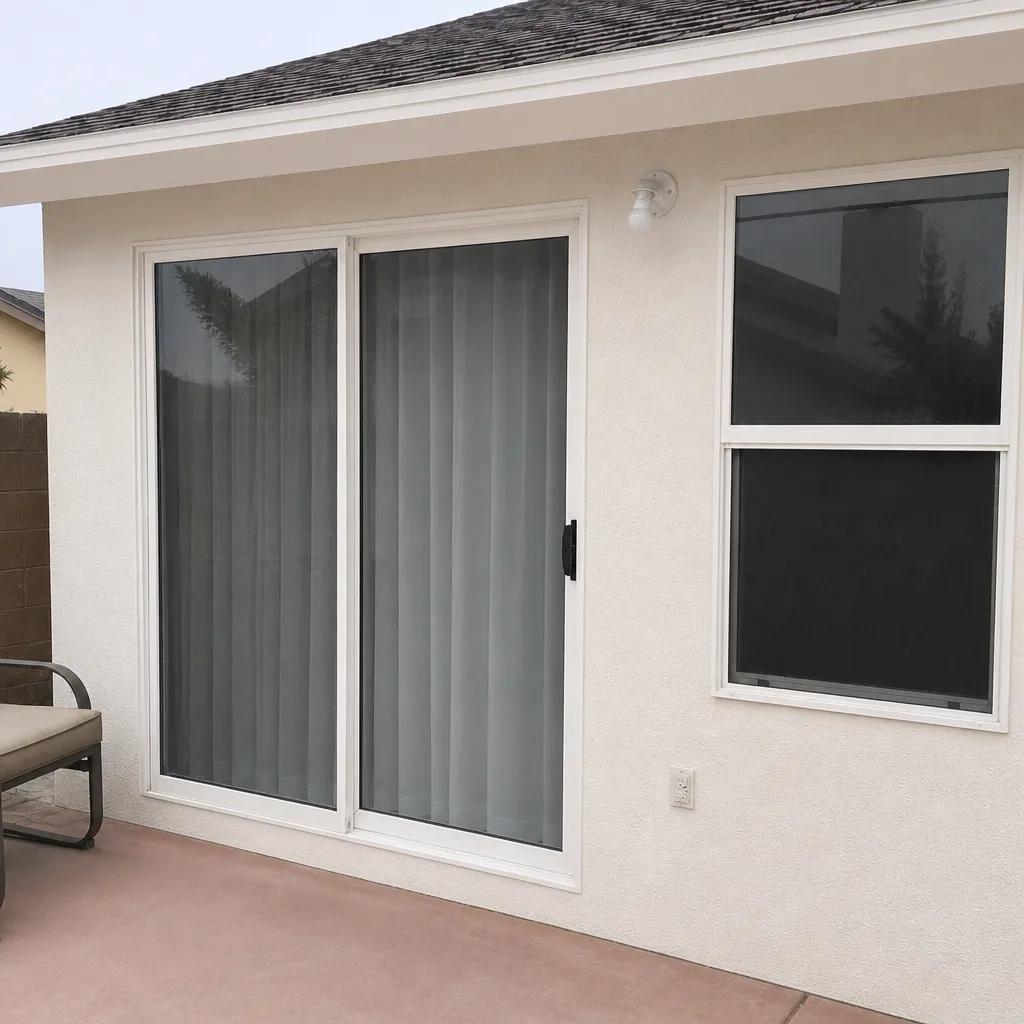 After
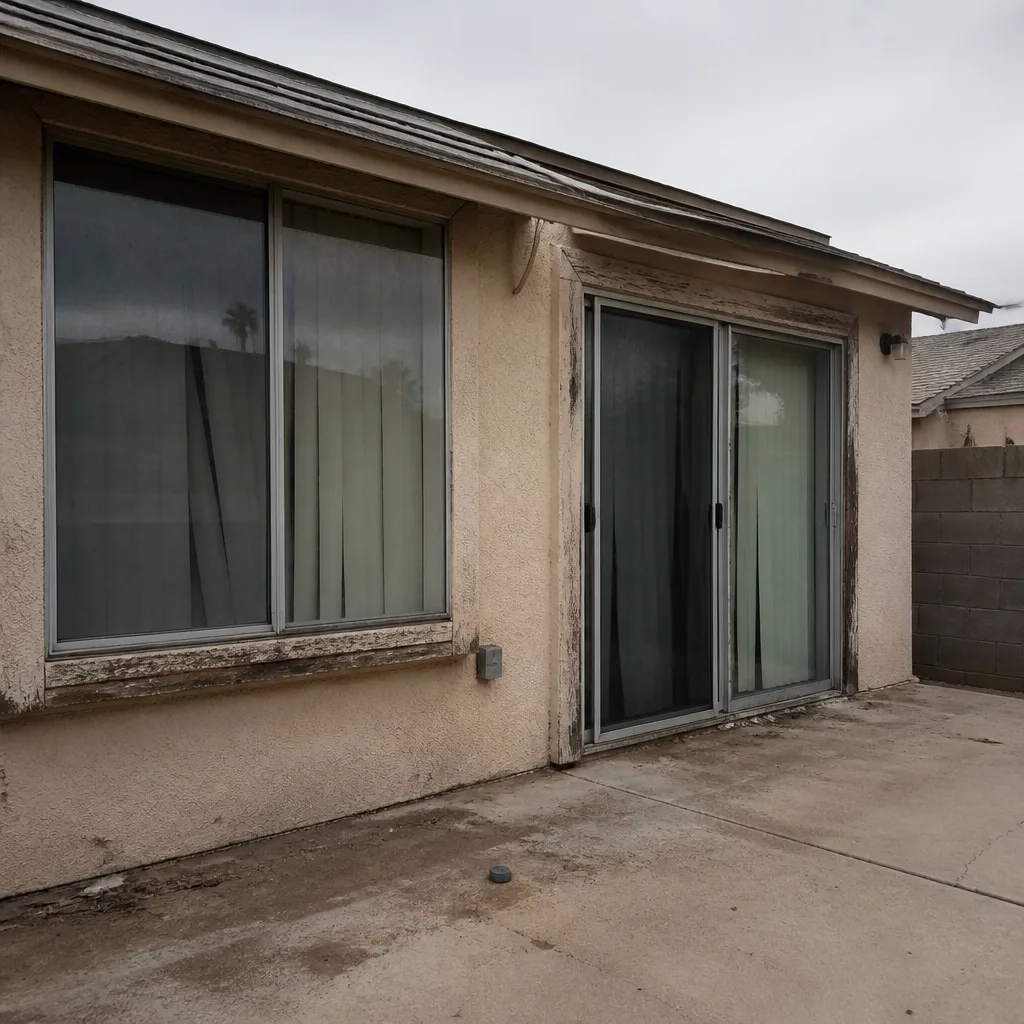 Before
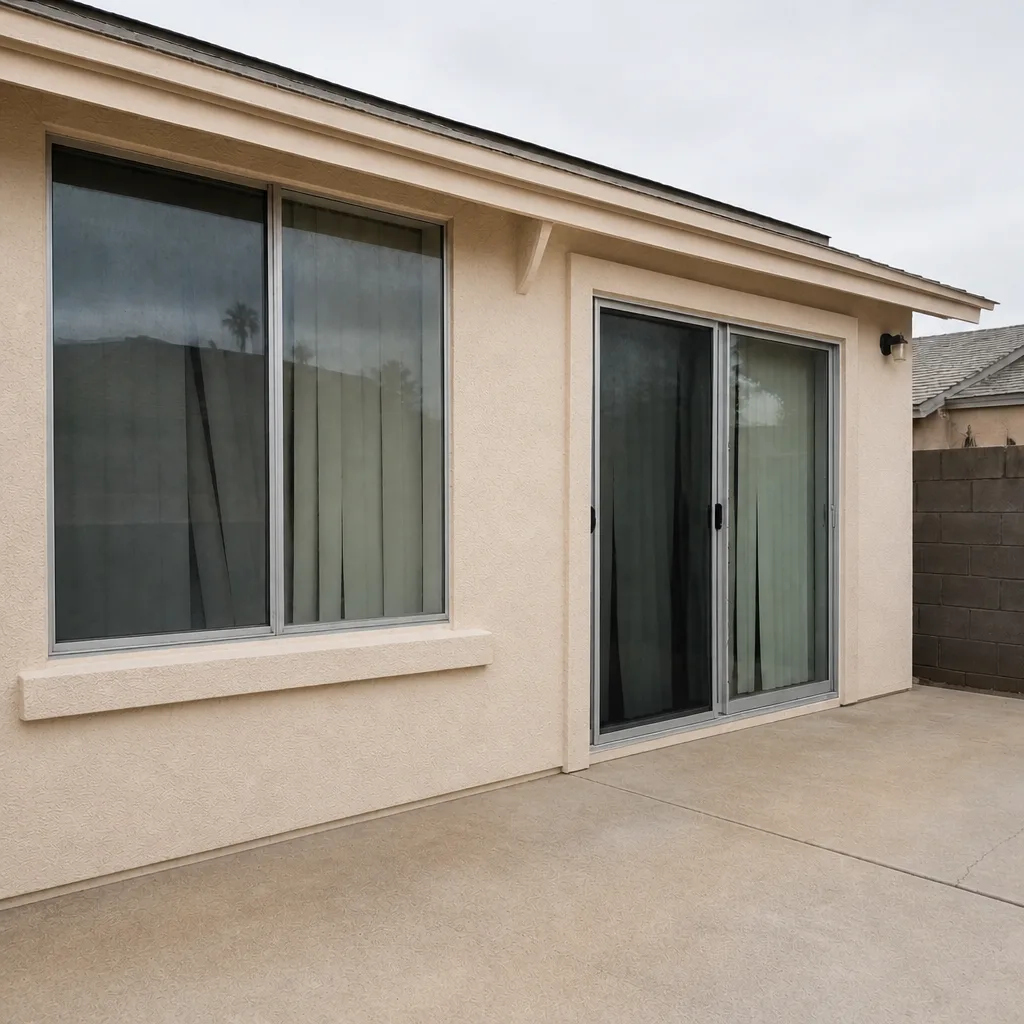 After
When to Call a Professional
Call us if you find active water intrusion at a sill or frame, if a window will not close fully, if perimeter caulk has failed on a second-story window, or if a sealed unit has fogged. Also call if you have never confirmed your installation warranty was filed with the manufacturer; we can tell you what to ask for and how to verify it. A window that binds hard enough to resist two fingers is telling you something about the opening, and it is worth a look before you pay for a replacement you may not need.
TruePane Windows & Doors North Las Vegas is an authorized installer for more than a dozen manufacturer lines, including CGI, ES Windows, and ECO Window Systems, and our technicians have up to 18 years of experience. We do not do a full replacement when the frame and glass still have useful life. We offer free estimates in North Las Vegas. Call (833) 734-5506.
Frequently Asked Questions
Monthly from March through October, quarterly the rest of the year. North Las Vegas dust and wind plug weep channels faster than most climates, and a plugged channel during a monsoon is how water gets into a wall.
No. A fogged multi-pane window has a failed edge seal on the sealed glass unit, and the gas filling is gone. The glass unit needs to be replaced by a professional, and in most cases the frame can be reused. Do not try to drill or vent it.
Call the manufacturer of the window directly and ask them to confirm the registration against your address and the product line. Then call the installer for the confirmation document. If either cannot produce it, ask for a re-filing. Under The Keystone Standard, both warranty layers are registered in writing before the truck leaves the driveway.
A dry-film or silicone-based lubricant. Petroleum-based grease and household oil collect fine desert dust and turn into a grinding paste on the moving parts. Clean the hardware first, then apply a thin film of dry silicone.
Only if the caulk was the wrong type or applied over a failed bead. A properly installed exterior sealant should last several years on most exposures. Cracking within a year points to a sealant that was not rated for our thermal swing or was applied over a dirty or wet joint.
A proper service visit checks weep holes and drainage, perimeter caulk at the most exposed faces, hardware and lock function, glass seals for fogging, and frame square. It also confirms the warranty registration is on file. Our team charges for the visit only when there is work to do. Call (833) 734-5506 for an exact quote, and estimates are free.
The Bottom Line
The window maintenance that matters most in North Las Vegas is not the spring cleaning project most checklists describe. It is five minutes a month clearing weep holes before they plug, a twice-a-year walk around the exterior to catch caulk failure after a hard thermal swing, and a written record from installation that you can actually prove. Get those three right and you prevent almost every expensive failure we see on service calls. Everything else on the list buys you time. If a window has fogged, a frame has moved, or the paper trail is missing, that is the point to call. Our door installation in North Las Vegas page covers the matching checklist for exterior doors, which take their own beating from sun and dust. Call (833) 734-5506 to schedule a free estimate.
Written by the team at TruePane Windows & Doors North Las Vegas.